Do you have photos that are blurry, dark, or just don’t look as professional as you’d like? Don’t worry, you’re not alone! Low-quality images can be frustrating, especially when you want to share your memories or showcase your work online. But what if you could enhance image quality using AI with just a few clicks?
The good news is that you absolutely can! AI image enhancement tools are now readily available and incredibly easy to use. With tools like Let’s Enhance and Remini, you can achieve impressive results in seconds. Imagine turning a pixelated mess into a crisp, clear image almost instantly. Let’s dive in and see how it’s done.
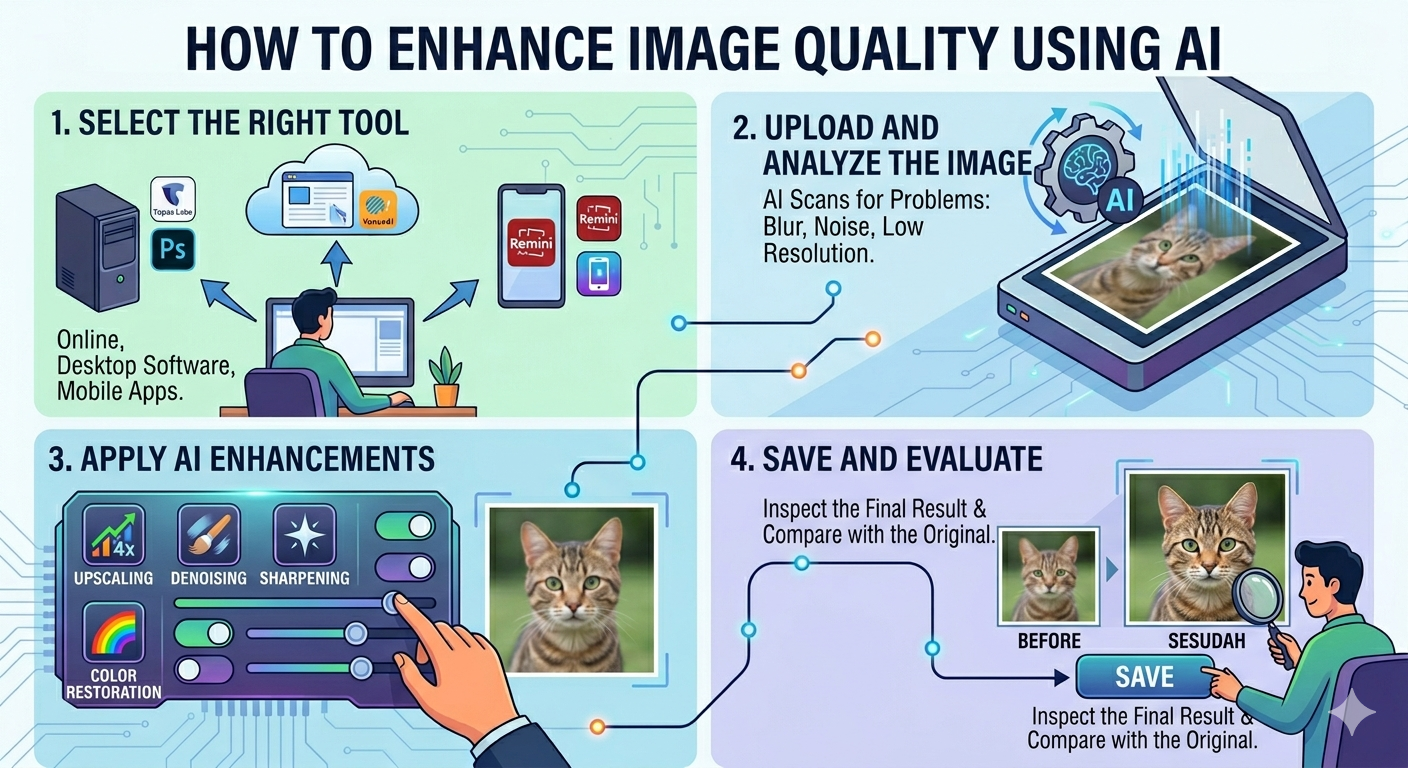
| What Does ‘Enhancing Image Quality’ Really Mean? |
Before we jump into the how-to, let’s quickly define what we mean by ‘enhancing image quality.’ Think of it as a digital makeover for your photos. AI algorithms work their magic to address common image issues, including:
- Sharpness / Deblurring: Correcting blurriness to make details clearer.
- Noise Reduction: Removing grainy or speckled artifacts.
- Resolution Upscaling: Increasing the size of an image without losing quality.
- Color Correction and Brightness: Adjusting colors and brightness for a more vibrant and balanced look.
- HDR and Detail Recovery: Bringing out hidden details in shadows and highlights.
| Method 1: One-Click AI Enhancement |
This method is perfect for beginners who want instant results without any complicated settings. We’ll use Let’s Enhance (online) and Remini (app) as examples, but the process is similar for most one-click AI image enhancers.
Here’s how to improve photo quality AI with one click:
- Upload Your Image: Go to the Let’s Enhance website or open the Remini app. Upload the photo you want to enhance.
- Let AI Work Its Magic: Simply click the ‘Enhance’ button (or similar). The AI will automatically analyze and improve your image. This usually takes just a few seconds.
- Download Your Enhanced Image: Once the process is complete, you can download your enhanced image. Compare the before and after to see the difference! [Screenshot: Before and after example from Let’s Enhance or Remini]
Pro Tip: Experiment with different AI enhancers to see which one gives you the best results for your specific type of photos. Some are better at portraits, while others excel at landscapes.
| Method 2: AI Enhancement in Canva |
If you use Canva for social media graphics, this is a super convenient option. Canva’s AI-powered enhancement tools are great for quickly improving images for online use.
Here’s how to use Canva as an AI photo enhancement tool:
- Upload Your Image to Canva: Create a design or open an existing one. Upload the image you want to enhance.
- Select Your Image and Edit: Click on your image within the Canva design. Click the ‘Edit Photo’ button.
- Use the Magic Enhance Tool: Look for tools like ‘Magic Enhance’, ‘Auto Enhance’ or similar options that let you quickly adjust the quality of the image.
Pro Tip: Canva’s tools are user friendly and great for all skill levels. If you’re working on the go, using a platform like Canva is a great way to make sure all of your images are high-quality!
| Method 3: Using Topaz Photo AI |
For photographers and anyone who needs high-resolution images for printing, Topaz Photo AI is a powerful choice. It offers more control over the enhancement process and delivers exceptional results.
Here’s how to enhance image quality using AI in Topaz Photo AI:
- Download and Install Topaz Photo AI: You’ll need to download and install the software on your computer. They offer a free trial.
- Open Your Image: Open Topaz Photo AI and select the image you want to enhance.
- Let AI Enhance and Adjust: Topaz Photo AI will automatically detect and correct common issues like noise and blur. You can also fine-tune the settings manually for more control.
Pro Tip: Topaz Photo AI is more advanced, so take some time to explore the different settings and experiment with what works best for your photos.
| Method 4: Mobile AI Enhancement |
Enhance your photos on the go using apps like Remini or Adobe Lightroom Mobile. These apps bring the power of AI to your fingertips.
Here’s how to use a mobile AI image enhancer:
- Download and Install: Download Remini or Lightroom Mobile from your app store.
- Upload and Enhance: Open the app and upload your photo. Use the ‘Enhance’ or ‘Auto’ features to let AI improve your image.
- Save and Share: Save the enhanced version to your phone and share it with the world!
Pro Tip: Mobile apps are fantastic for quick touch-ups and social media sharing.
| Comparison Table: AI Image Enhancement Tools |
| Method | Tool | Best For | Cost | Skill Level | Speed |
| One-Click AI | Let’s Enhance / Remini | Quick fixes, beginners | Free options, paid subscriptions | Beginner | Very Fast |
| Canva AI | Canva | Social media, marketing | Free with limitations, paid subscriptions | Beginner | Fast |
| Advanced AI | Topaz Photo AI | Photographers, print quality | Paid software | Intermediate | Moderate |
| Mobile AI | Remini / Lightroom Mobile | On-the-go editing | Free options, paid subscriptions | Beginner | Fast |
| What AI Can and Can’t Fix |
AI image enhancement is powerful, but it’s not magic. Here’s an honest look at what it can and can’t do:
- AI Can Fix:
- Blur (to some extent)
- Noise
- Low resolution (upscaling)
- Exposure issues (brightness, contrast)
- AI Can’t Fully Fix:
- Completely corrupted files
- Extreme over-exposure (blown-out highlights)
- Missing subjects (AI can’t invent something that’s not there)
| Tips for Consistently Better Photos From the Start |
While AI can help clean up your images, the best way to ensure high quality is to start with good photography practices:
- Lighting Basics: Good lighting is crucial. Shoot in natural light whenever possible, or use artificial lighting to illuminate your subject evenly.
- Avoiding Heavy Compression Before Editing: Try to avoid compressing before editing to keep as much detail as possible.
- Shooting in Higher Resolution: If your camera allows it, shoot in the highest resolution possible. This gives you more data to work with during editing.
| FAQ: AI Image Enhancement |
Here are some frequently asked questions about enhance image quality using AI:
- Can AI fix a very blurry photo? AI can significantly reduce blur, but it may not be able to completely restore a severely blurry image.
- What’s the best free AI image enhancer? Remini offers a great free option with limitations. Let’s Enhance also has a free tier.
- Does AI enhancement work on old scanned photos? Yes! AI can be particularly effective at restoring old, scanned photos.
- Can I enhance multiple images at once? Some tools, like Topaz Photo AI, offer batch processing for enhancing multiple images at the same time.
- Is AI enhancement as good as Photoshop? It depends. Photoshop offers more manual control, but AI is much faster and easier for basic enhancements.
| Conclusion |
You now have the knowledge to enhance image quality using AI and breathe new life into your photos. Whether you’re a casual user or a professional photographer, AI-powered tools can save you time and deliver impressive results. For a quick and easy way to enhance photos, give Remini a try! The capabilities of AI are constantly evolving, making it easier than ever to capture and share stunning visuals. Go ahead and transform your photos today!